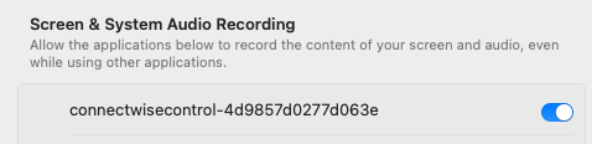
Turn the switch ON
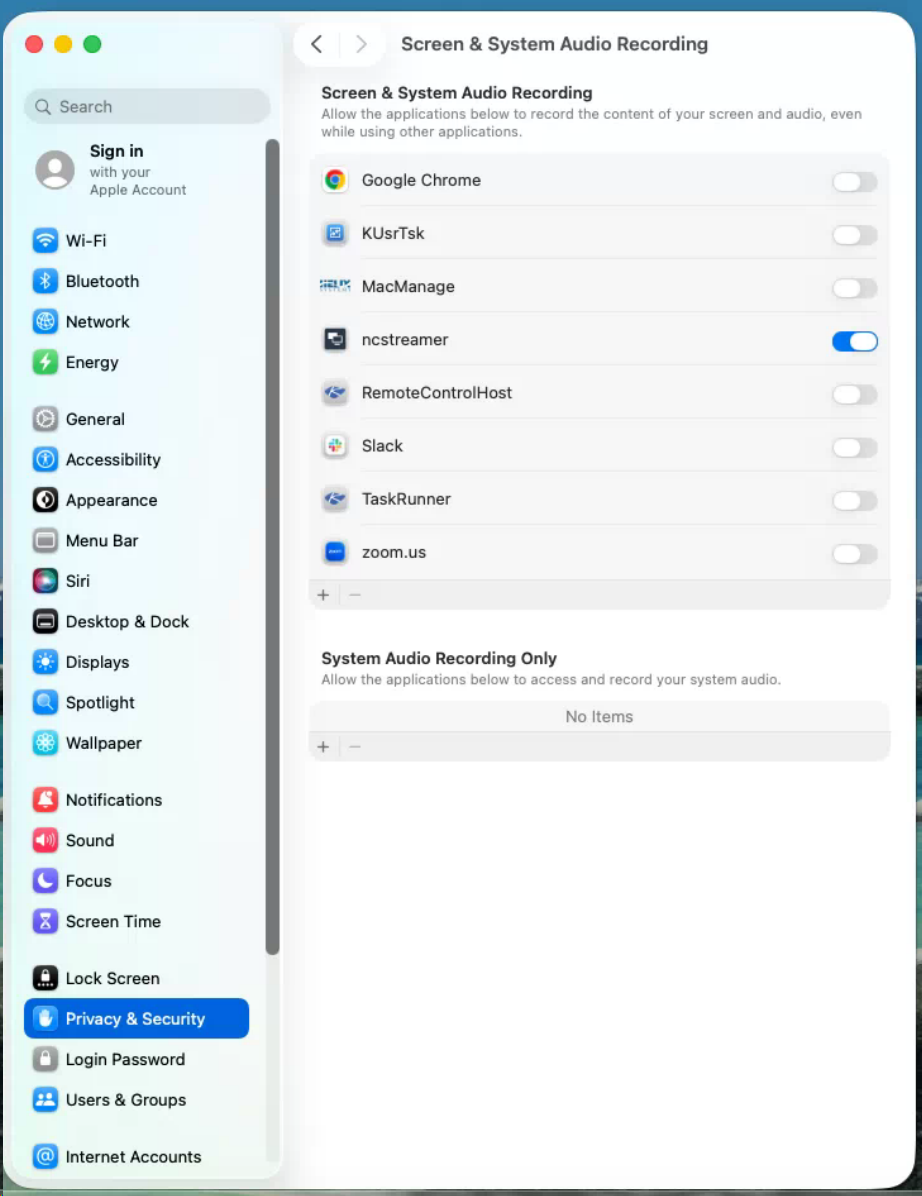
System Settings opens to Privacy & Security → Screen & System Audio Recording. Turn the connectwisecontrol switch ON. Administrator access is not required here.
macOS Deployment Guide
Follow three quick steps to finish installing and approving your remote support agent on macOS. Select the agent that was installed on your Mac to see the matching instructions.
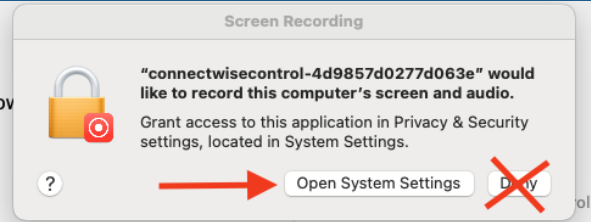
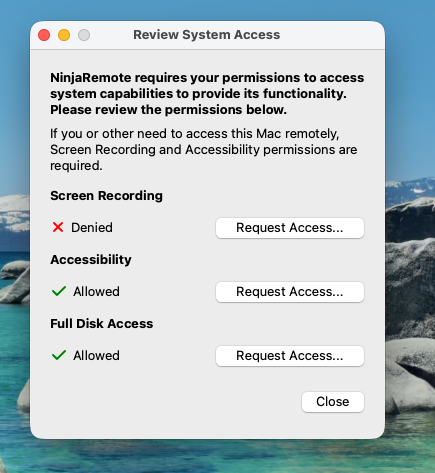
This window is the ScreenConnect Review System Access panel. It checks the two permissions the agent needs to run.

Do not click Deny. Denying will only cause issues with the Help Desk being able to support you. Any screensharing connection we make must be approved by you — you are always alerted before a session begins.
System Settings opens to Privacy & Security → Screen & System Audio Recording. Turn the connectwisecontrol switch ON. Administrator access is not required here.
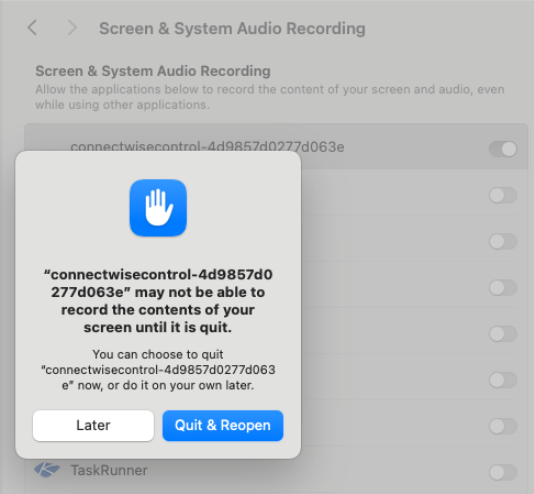
You'll be prompted to relaunch ConnectWise Control. Go ahead and click Quit & Reopen — the client restarts automatically.
You can now close any related windows or notifications. Here are a few things to expect from here on.
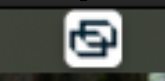
The agent places a small icon in your menu bar, shown here.
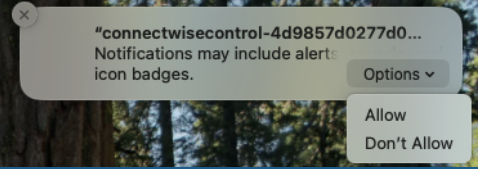
If asked to enable notifications, choose Allow.
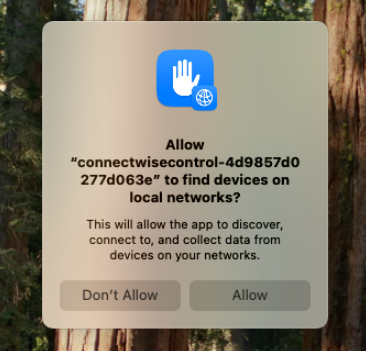
A later prompt may ask to find devices on local networks — please Allow.

When the Help Desk connects, this approval prompt appears before your screen is ever shared.
Good to know: your desktop image will temporarily turn black while a session is in progress. This is completely normal and reverts automatically once the session ends.
Accessibility and Full Disk Access are typically already Allowed. Only Screen Recording needs your attention.
Do not click Deny. Denying will only cause issues with the Help Desk being able to support you. Any screensharing connection we make must be approved by you — you are always alerted before a session begins.
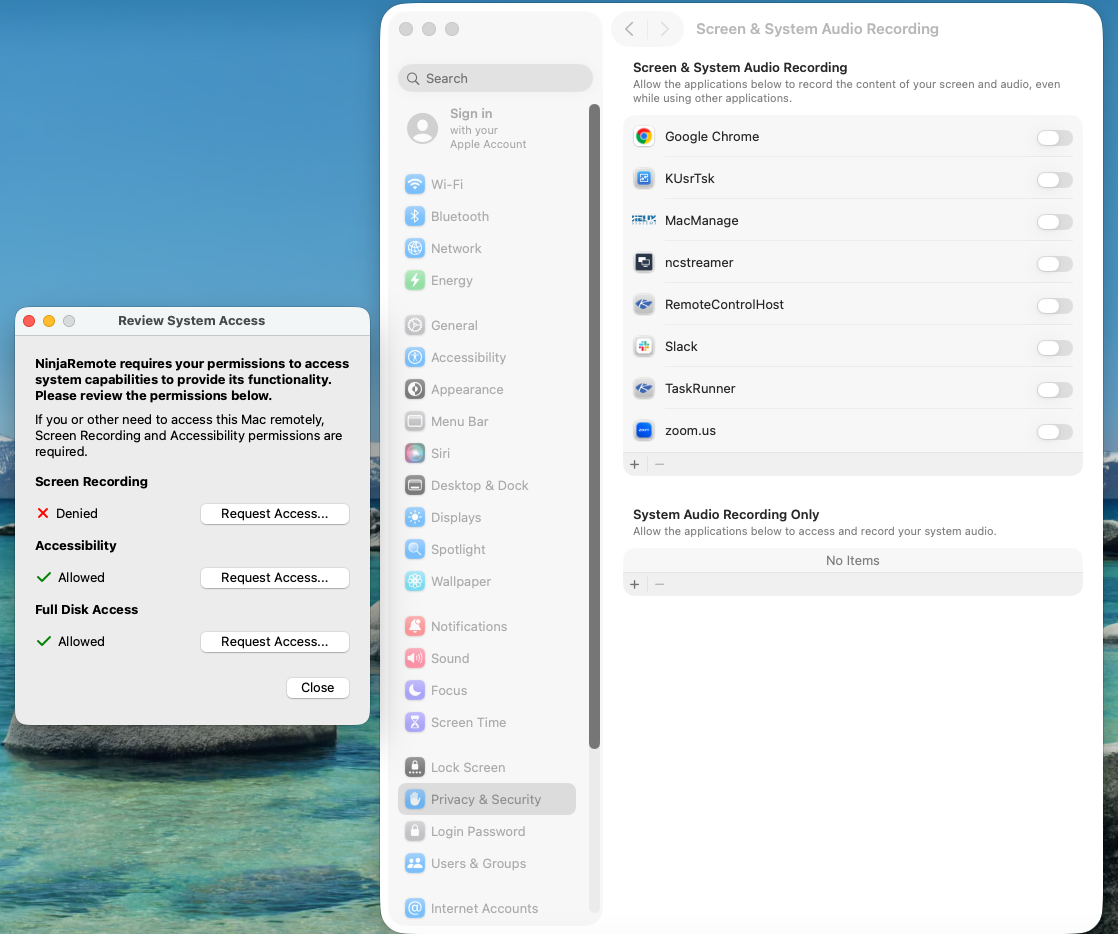
In the list, find ncstreamer and turn its switch ON. This is the NinjaRemote screen-sharing component. Administrator access is not required.
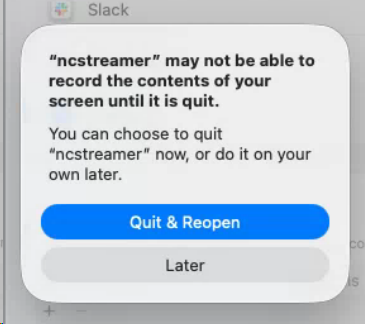
You'll be prompted that ncstreamer must be restarted. Go ahead and click Quit & Reopen — it restarts automatically.
You can now close any related windows or notifications. Here are a few things to expect from here on.
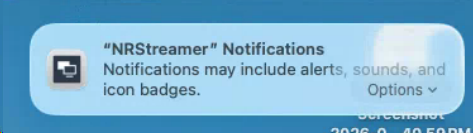
If asked to enable NRStreamer notifications, choose Allow.
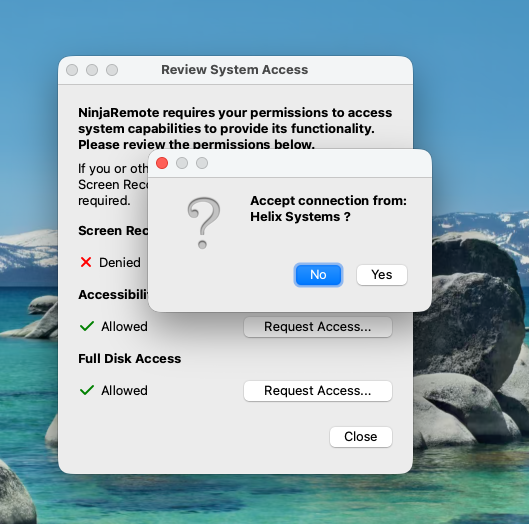
When the Help Desk connects, an “Accept connection from: Helix Systems?” prompt appears — click Yes to allow the session.
Good to know: your desktop image may temporarily turn black while a session is in progress. This is completely normal and reverts automatically once the session ends.
Around-the-clock support
Contact our 24/7 Help Desk and we'll get you sorted right away.